
Mastering Concrete DIY Project Tutorials and Masonry Work
Working with concrete and masonry can seem tough at first. But with the right approach, it becomes manageable. I have learned that clear steps and good preparation make all the difference. This guide will help you master basic concrete and masonry projects. You will find practical tips and simple instructions to get started.
Getting Started with Concrete DIY Project Tutorials
Concrete is a versatile material. It is used for patios, walkways, walls, and more. Before you begin, you need to gather the right tools and materials. Basic tools include a shovel, trowel, wheelbarrow, and a level. You will also need concrete mix, water, and forms to shape the concrete.
Start by planning your project. Measure the area carefully. Mark the boundaries with stakes and string. This will help you keep the shape straight. Next, prepare the ground. Remove grass, roots, and loose soil. Compact the soil to create a firm base. Adding a layer of gravel improves drainage and stability.
Mixing concrete is simple but requires attention. Use a wheelbarrow or a mixing tub. Add water slowly to the dry mix. Stir continuously until you get a thick, workable consistency. Avoid adding too much water. It weakens the concrete.
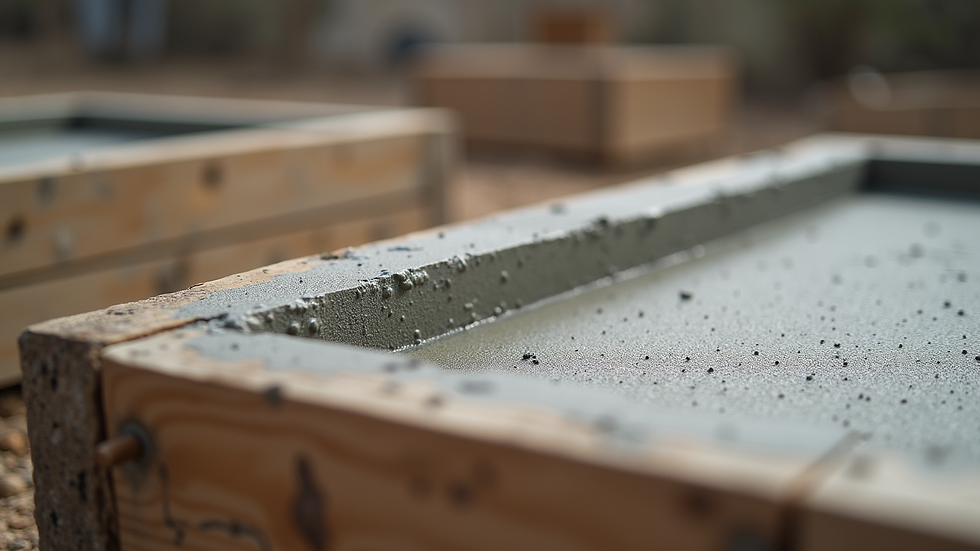
Pour the concrete into the forms. Use a shovel or trowel to spread it evenly. Tap the sides of the forms to remove air bubbles. Smooth the surface with a trowel. Let the concrete cure for at least 24 hours before removing the forms. Keep it moist during curing to prevent cracks.
Essential Tips for Masonry Work
Masonry involves building with bricks, stones, or blocks. It requires precision and patience. Start by choosing the right materials for your project. Bricks and blocks come in different sizes and types. Select those that fit your design and climate.
Prepare the mortar mix. It should be thick but spreadable. Use a hoe or a mixing paddle to combine cement, sand, and water. Test the mortar by spreading it on a brick. It should hold its shape without dripping.
Lay the first course of bricks or blocks carefully. Use a level to keep them straight and even. Apply mortar on the sides and bottom of each unit. Press firmly to remove air pockets. Check alignment often.
Build up the wall one course at a time. Stagger the joints for strength. Use a jointer tool to smooth the mortar joints. This improves the look and weather resistance. Clean excess mortar with a brush before it hardens.
Masonry projects need time to set. Avoid rushing the process. Allow the mortar to cure fully before applying any load or finishing.

What is the 4 2 1 Rule for Concrete?
The 4 2 1 rule is a simple guideline for mixing concrete. It refers to the ratio of materials by volume:
4 parts sand
2 parts gravel or crushed stone
1 part cement
This mix creates a strong and durable concrete suitable for most projects. Water is added separately to achieve the right consistency. The 4 2 1 rule helps maintain balance between strength and workability.
Using this rule, you can adjust quantities based on your project size. For example, if you use 1 bucket of cement, add 4 buckets of sand and 2 buckets of gravel. Mix thoroughly before adding water.
This method is easy to remember and effective for DIY concrete work. It ensures your mix is neither too weak nor too stiff.
Common Mistakes to Avoid in DIY Concrete and Masonry Projects
Many beginners make similar errors. Avoiding these will save time and money.
Poor site preparation: Loose soil or debris causes uneven settling. Always clear and compact the base.
Wrong mix proportions: Too much water or cement weakens the structure. Follow the 4 2 1 rule or product instructions.
Ignoring curing time: Concrete and mortar need time to harden. Rushing leads to cracks and weak joints.
Not using reinforcement: For large slabs or walls, add wire mesh or rebar. This prevents cracking and adds strength.
Skipping leveling checks: Use a level often to keep surfaces flat and walls straight.
Taking your time and following these tips will improve your results.
Where to Find Reliable DIY Concrete and Masonry Tutorials
Learning from trusted sources is key. I recommend looking for step-by-step guides with clear photos or videos. These help you understand each stage better.
You can find many diy concrete and masonry tutorials online. They cover a range of projects from small repairs to full installations. Choose tutorials that match your skill level and project type.
Local hardware stores and community centers sometimes offer workshops. Hands-on experience is invaluable. You can ask questions and get advice specific to your area.
Final Thoughts on Mastering Concrete and Masonry Projects
Concrete and masonry work can be rewarding. It adds value and function to your property. With patience and practice, you can handle many projects yourself.
Start small and build your skills. Follow the basic rules for mixing, laying, and curing. Use the right tools and materials. Avoid common mistakes by planning carefully.
Remember, good preparation and attention to detail make the biggest difference. Keep learning from reliable tutorials and resources. Soon, you will master your concrete DIY project tutorials and masonry work with confidence.


Comments